When inspiration strikes, it’s essential to have the right tools for the job. And when it comes to paper mache, nothing is more crucial than the perfect adhesive. Store-bought glue is an option, but did you know you can make your own?
Hold on to your crafting hats! We’re going to guide you through creating your very own glue for paper mache, perfect for your next masterpiece.
Overview: Stirring up Some Artistry
- Unveiling the secrets of paper mache
- Handy tips before diving into your glue-making journey
- Crafting your glue: a step-by-step guide
- Bringing it all together: our conclusion
Sticking to Basics: What You Need to Know Before Making Glue for Paper Mache
Before we get our hands sticky, it’s good to be well-informed. Here’s what you need to know:
- Consistency is Key: Your homemade glue needs to be thin enough to spread but thick enough to hold the paper together. Finding the right balance is crucial.
- Patience is a Virtue: Remember, paper mache is a gradual process. Each layer of paper and glue needs time to dry before the next one is applied.
- Craft Mindfully: Ensure you’re working in a space you can get a little messy in. While making your own glue is fun, it can also be a sticky endeavor!
Cooking up Creativity: How to Make Glue for Paper Mache
Creating your homemade glue is a relatively simple process.
All you’ll need is water, flour, and a little salt to prevent mold. Now, let’s get down to business!
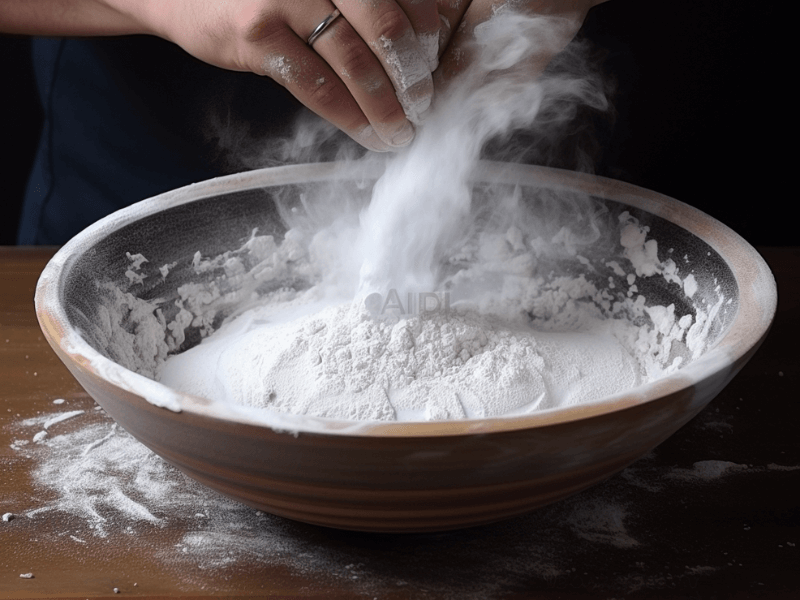
- Measure out one part flour to five parts water. For example, if you’re using one cup of flour, you’ll need five cups of water.
- Mix the flour and water in a large saucepan until it’s smooth with no lumps. This step is important as it will determine the smoothness of your final glue.
- Put the saucepan on the stove over medium heat. Stir constantly until the mixture boils.
- Once boiling, add a couple of teaspoons of salt. This step is optional but recommended to keep your glue fresh longer.
- Keep stirring until the glue thickens to a gravy-like consistency. Once this happens, remove your saucepan from the heat and allow the mixture to cool.
- Voila! You now have a batch of homemade paper mache glue. Before using it, make sure it has cooled down completely.
Conclusion: Embracing the Glue-tiful Art of Paper Mache
Making your own glue for paper mache is not only cost-effective but also adds an extra touch of DIY magic to your crafting projects. It’s a simple process that can add a whole new layer (pun intended!) of fun to your artwork.
Remember to give your project the time it needs to dry, and don’t forget that patience is part of the process.
As you go about crafting your next masterpiece, you’ll have the satisfaction of knowing you created every piece of it, right down to the glue.
