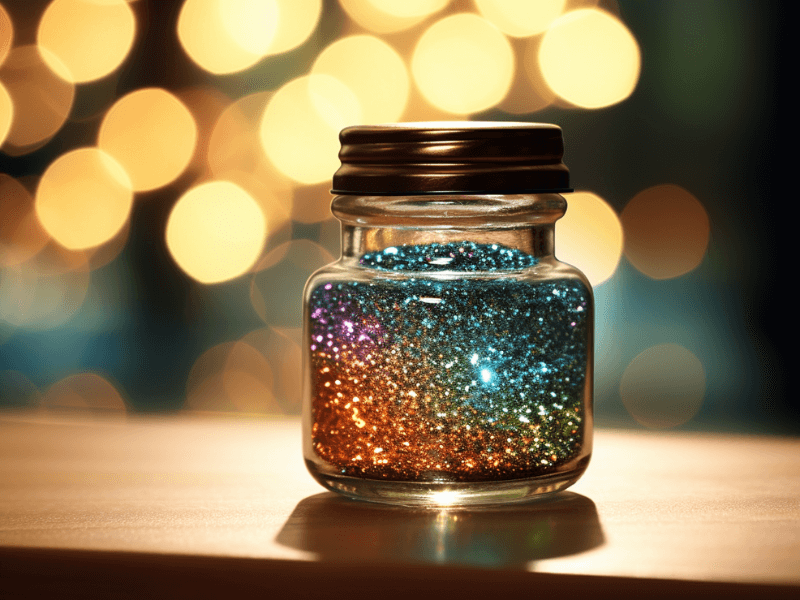
Welcome to the world of glimmer, shimmer, and sparkle! This is a world where creativity shines brighter than a thousand suns, and every speck of glitter holds a story of imagination. Today, we invite you to immerse yourself in the enchanting universe of glitter glue, where craft meets the lustrous shine of your dreams.
From tiny tots to seasoned artists, everyone finds a place in this glimmering world. This versatile art supply is the hidden gem of your craft box, whether you want to bring a twinkle to your child’s school project or elevate your scrapbooking game. Let’s get started on this glittering journey!
Overview: The Glistening Path to Glitter Glue Mastery
• Discovering the Glittering Galaxy: What is Glitter Glue and How it’s Made
• Project Runway: Glitter Glue Style
• Sparkling Steps: How to Use Glitter Glue
• A Glittering Farewell: Conclusion

Discovering the Glittering Galaxy: What is Glitter Glue and How it’s Made
Glitter glue is a radiant combination of adhesive and glitter. It’s your basic white glue, but with an extra dose of fun!
Microscopic flecks of plastic or metal, often shaped as tiny hexagons, are mixed into the glue to give it that magical sparkle.
The glue acts as a perfect carrier for these tiny specks, allowing you to create brilliant, gleaming designs with ease.
Project Runway: Glitter Glue Style
Glitter glue is a versatile star that can add glamour to various projects:
• Scrapbooking and Card Making: Add sparkly borders, write dazzling messages, or create glowing embellishments.
• DIY Decor: Use glitter glue to elevate the look of plain vases, photo frames, or Christmas ornaments.
• Children’s Art Projects: Glitter glue is perfect for adding a splash of sparkle to any child’s art project, from homemade bookmarks to paper masks.
• Textile Art: From decorating a fabric bag to designing a shiny T-shirt, glitter glue can add a touch of glam to your textile projects.
• Paper Mache: Create glittery paper mache sculptures or masks. • Festive Decorations: Make your festive decorations pop with some glitter glue accents.
Sparkling Steps: How to Use Glitter Glue
- Preparation is Key: Always start with a clean, dry surface. This ensures that the glue adheres well and the glitter shines bright.
- Shake it Up: Before using, give the bottle a good shake. This helps to mix the glitter evenly throughout the glue.
- Gently Squeeze: Hold the glitter glue bottle upside down and gently squeeze to release the glittering adhesive.
- Create Your Design: Apply the glitter glue directly onto your surface. Remember, it dries as it appears wet, so feel free to layer it up for a more vibrant look.
- Patience is a Virtue: Allow the glue to dry completely before handling your project. The drying time will vary depending on the amount of glue used.
- Clean Up Time: Remember to cap your glitter glue tightly after use and clean any spills immediately to avoid hard-to-clean glittery messes.
A Glittering Farewell: Conclusion
Whether you’re crafting with your children or working on an artistic masterpiece, glitter glue is a fun, easy, and sparkling way to bring your projects to life. It’s a versatile craft supply that can bring a touch of glitzand glamour to any creation. It’s the magic wand in your craft box, ready to add a sprinkle of enchantment.
So go ahead, bring out that bottle of glitter glue, and let your creativity shine as bright as a constellation in a clear night sky. After all, there is no such thing as too much sparkle in the universe of crafts.
Let your creations be a reflection of your radiant imagination, all thanks to the glitter glue’s wonderful glimmer. Remember, every sparkle is a story waiting to be told, so let your glitter glue guide your narrative in the most vibrant way possible.


