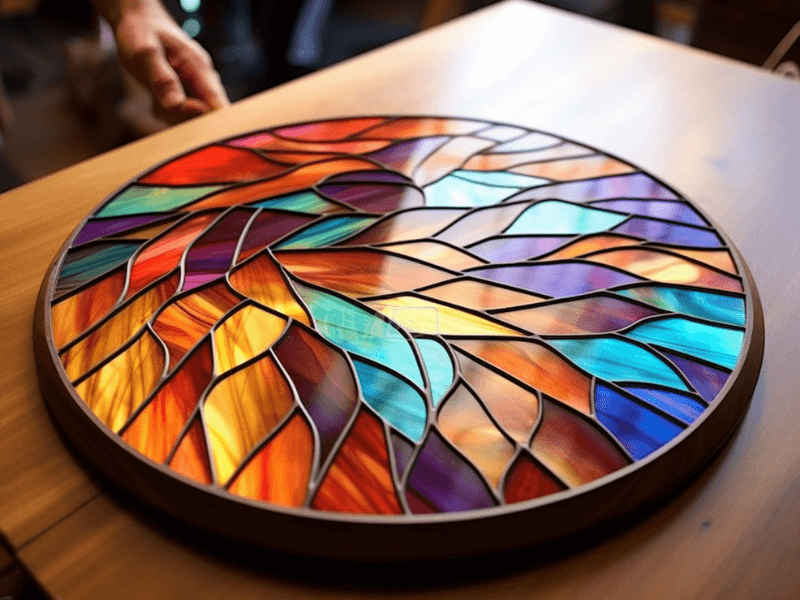
Embarking on a creative project involving crushed glass and wood may seem like an uphill task, but with the right tools and guidance, it can turn into a fascinating journey.
When it comes to pairing these two unique materials, the bond that forms is not only strong but can also lead to stunning works of art. But what’s the secret to a strong bond? It’s all in the glue!
Let’s dive into the world of crushed glass, wood, and the adhesives that bind them, exploring how you can use these elements to create sparkling masterpieces.
Whether you’re an experienced DIYer or a crafty newcomer, this guide will provide everything you need to know to make your project shine.
Gluing Crushed Glass and Wood: A Quick Breakdown
- Choosing the right type of glue for the job
- Preparing your wood and crushed glass
- Following a step-by-step gluing process
- Keeping an eye out for common pitfalls
- Finishing and caring for your creation

Choosing Your Trusty Adhesive Sidekick
When choosing glue for adhering crushed glass to wood, certain types of adhesives stand out for their strength, durability, and versatility.
Let’s explore a few, along with their pros and cons.
1. Epoxy Resin
Pros: Epoxy resin is a strong adhesive known for its high durability and waterproof properties. Once cured, it provides a clear, glossy finish that enhances the look of the crushed glass.
Cons: It has a longer curing time than some other adhesives and requires precise mixing of two components. It can also be messy to work with if not handled carefully.
2. Cyanoacrylate (Super Glue)
Pros: Super glue is easy to use and dries very quickly. It forms a strong bond between glass and wood and works well for small projects.
Cons: It doesn’t have as much flexibility as other glues, and mistakes can be hard to rectify due to the fast-drying nature. The bond isn’t as strong or durable as epoxy resin, especially for larger pieces.
A Journey of a Thousand Miles Begins with a Single Step…By Step Guide
Step 1: Clean and prepare your wood and crushed glass. For the wood, you may need to sand it lightly for a smoother surface. Rinse the crushed glass in warm water and allow it to dry completely.
Step 2: Arrange the crushed glass pieces on the wood in your desired pattern. Take a photo for reference.
Step 3: Apply the glue to the wood, starting with small areas if your design is complex.
Step 4: Place the crushed glass pieces onto the glued area, referring back to your photo as needed. Press lightly to ensure good contact.
Step 5: Allow the glue to dry completely. If you’re using epoxy resin, this could be up to 24 hours.
Step 6: Once dry, gently clean off any excess glue with a soft cloth.
Staying on the Glass-and-Wood Path
When working with crushed glass and wood, remember to handle the glass with care to avoid injury. Always wear safety goggles and gloves.
It’s also a good idea to work in a well-ventilated area, especially when using adhesives that emit fumes.
Ensure that your glass pieces are not too sharp, especially if the final product will be handled often. Sand down any excessively sharp edges before starting your project.
Conclusion: Crafting a Masterpiece
With the right adhesive, a touch of creativity, and a handful of sparkling crushed glass, you’re well on your way to creating a beautiful piece of art.
Remember, the glue you choose serves not only as an adhesive but also as a silent partner in your crafty endeavor, holding your creation together and enhancing its beauty.
So choose wisely, handle with care, and most importantly, have fun on this sparkling adventure!


