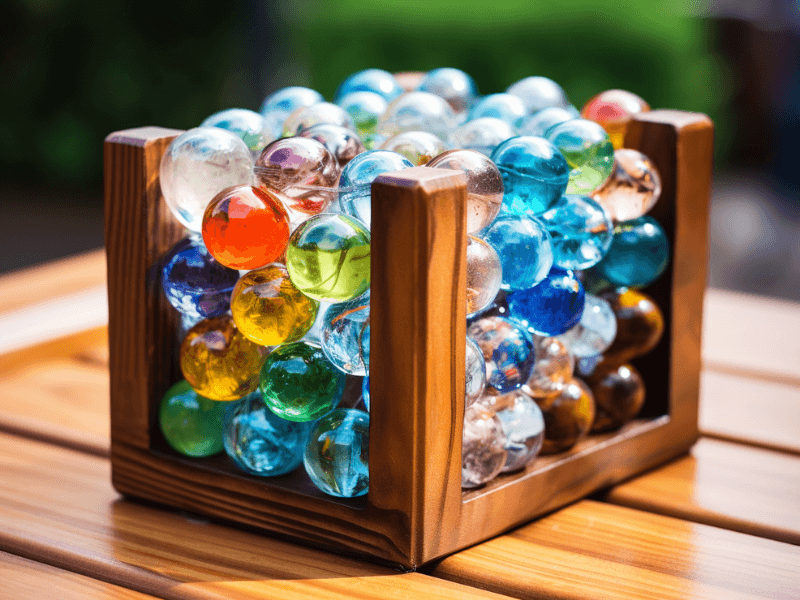
Using glass marbles in your crafts and DIY projects is a great way to add charm and personality to your pieces.
Whether it’s a piece of furniture, a wall hanging, or a simple table centerpiece, glass marbles add a unique, gleaming touch. But how can you attach these tiny, round glass pieces to a wooden surface?
Fear not, my craft-savvy friends, as we’re about to delve into the hows and whys of gluing glass marbles to wood.
This is a task that needs a bit of finesse, a touch of patience, and of course, the right type of glue. With these elements, your marble-based creations will shine brilliantly, both literally and metaphorically!
The High-Level Marble Move
- Prepare your materials, which includes the marbles, wood, and selected adhesive
- Clean your marbles and wood thoroughly to ensure optimal adhesive bonding
- Apply the adhesive to the marbles and attach them to the wood
- Let the glue cure as recommended by the manufacturer
- Be patient and give it time – you’re creating art!

Adhesive Stars for Shiny Marbles
While it might be tempting to reach for your basic craft glue, it’s essential to select an adhesive suitable for glass and wood.
Here are some of the best options:
- Epoxy Resin: This adhesive forms a strong, durable bond between the glass and wood. It’s waterproof and heat-resistant, making it perfect for both indoor and outdoor projects. On the downside, it can be a bit messy and requires careful mixing before use.
- Silicone Sealant: This adhesive is also a great option as it’s flexible and doesn’t shrink when dry. It also withstands temperature changes well. However, it tends to take longer to dry, so it’s not ideal if you’re in a hurry.
- Cyanoacrylate Super Glue: The go-to adhesive for many, super glue works quickly and forms a sturdy bond. However, you have to be careful as it dries quickly and can bond skin instantly!
Marble-Meets-Wood: The How-To
- Clean Your Materials: Start by cleaning your marbles and wood to ensure a better adhesive bond. For marbles, warm soapy water does the trick. Dry them thoroughly before starting. As for the wood, wipe it clean from dust or any other particles.
- Apply Your Chosen Adhesive: For each marble, apply a sufficient amount of glue to cover the point of contact with the wood. Be careful not to use too much, as it could spill out from underneath the marble when pressed onto the wood.
- Press & Hold: Gently press the marbles onto the wood, making sure to hold each one in place until the glue starts to set. With super glue, this may be as quick as 15-45 seconds. For silicone or epoxy, you might need to hold it longer or even use tape or clamps to keep it in place while drying.
- Patience Is Key: Allow the glue to cure fully. This might take anywhere from several hours to a whole day, depending on the adhesive you’re using.
Mirror and Wood Tango: Things to Watch Out For
- Clarity: If you’re using clear marbles, keep in mind that some adhesives may leave a cloudy residue once they’re dry. Test your chosen glue on a single marble first to make sure it dries clear.
- Positioning: Marbles are, well, round and prone to rolling. To prevent them from sliding around while you’re working, consider creating a stable surface or using a non-slip mat.
- Safety: Always handle adhesives with care. Ensure proper ventilation while using and keep them out of reach of children.
A Marvelous Marble Conclusion
Gluing glass marbles to wood is not as daunting as it seems, especially if you have the right adhesive and a sprinkle of patience.
Whether you’re creating a shiny garden path or a sparkling piece of home decor, the process remains the same.
Remember, crafting is about creativity, so have fun with your marbles and make something magical!


