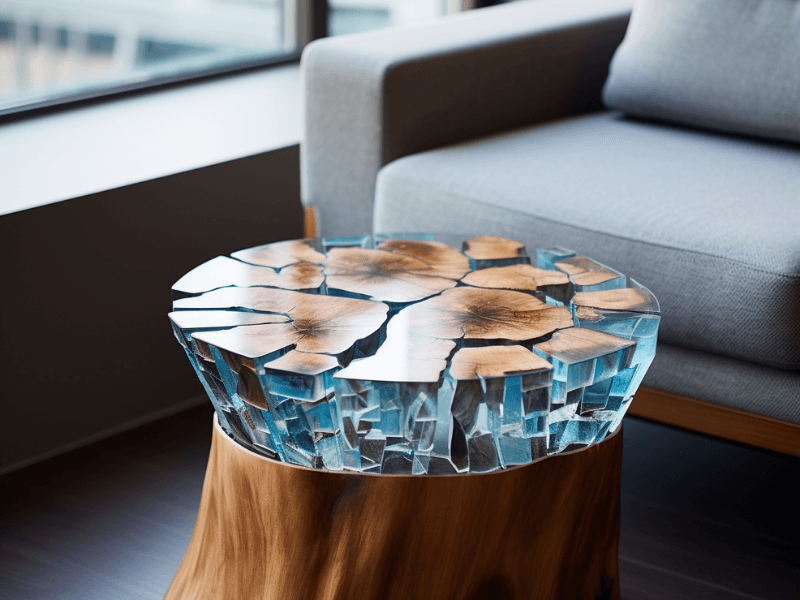
Gluing glass to wood may sound like a challenge, but with the right adhesive and technique, it’s an easy task to accomplish! The joining of these two different materials allows for the creation of unique projects, from customized photo frames to elegant furniture and stylish home decor.
However, the trick is to find the perfect adhesive that can hold the slippery, non-porous glass to the porous, absorbent wood.
So, are you ready to know more about this art of fusion? Then, keep reading!
An Overview: Key Points to Remember:
- Not all glues are appropriate for glass and wood.
- Certain adhesives have specific properties that make them ideal for such tasks.
- The gluing process also depends on the size and weight of the glass.
- Preparing the surface before gluing is crucial.
- Allow enough time for the adhesive to cure properly for a firm hold.

The Perfect Adhesive: Pros and Cons
1. Liquid Nails:
Pros:
- Designed for bonding heavy-duty materials, including glass and wood.
- Provides a strong, durable bond.
- It’s resistant to heat and water, so it’s perfect for outdoor use.
Cons:
- Requires some time to dry and cure completely, usually 24 hours.
- Not suitable for small or delicate projects as it might be too strong.
2. Polyvinyl Acetate (PVA) Glue:
Pros:
- It’s non-toxic, making it safe to use.
- Ideal for lightweight, small projects.
Cons:
- It’s not as strong or durable as some other glues.
- It’s not water-resistant.
Let’s Get Started: Gluing Glass to Wood with Liquid Nails
Step 1: Prepping the Stage
Start by cleaning both the glass and wood surfaces to remove any dirt or dust. Use rubbing alcohol on the glass for a streak-free clean. For the wood, simply wipe it down with a damp cloth and let it dry.
Step 2: Liquid Nails Application
Apply a thin bead of Liquid Nails to the wood in a zigzag pattern. This ensures proper coverage and better adhesion. Make sure not to apply too much to avoid any mess.
Step 3: Making the Bond
Press the glass firmly onto the wood, applying even pressure. You might want to wear gloves to protect your hands and the glass.
Step 4: Patiently Wait
Let the adhesive dry for 24 hours. It’s important not to move the pieces during this time to allow the bond to set properly.
The Alternate Route: Gluing Glass to Wood Using PVA Glue
Step 1: Cleaning Time
As before, clean both the glass and wood surfaces thoroughly.
Step 2: PVA Glue to the Rescue
Apply a thin layer of PVA glue to the wood. Try to cover all areas where the glass will be placed.
Step 3: Seal the Deal
Place the glass onto the wood gently, applying even pressure to ensure proper contact.
Step 4: Let it Dry
Allow the glue to dry for at least 24 hours. The drying time might be longer in humid conditions. Remember, patience is the key to a perfect bond!
Bonding Different Worlds: Conclusion
Creating art or repairing items using different materials like glass and wood might seem like a challenge, but with the right glue and method, it becomes a rewarding task.
Remember, preparation is key, and allowing enough time for the adhesive to cure is crucial.
Whether you choose the strength of Liquid Nails or the non-toxicity of PVA glue, you now have the knowledge to bond glass and wood successfully. So, let the fusion begin!


