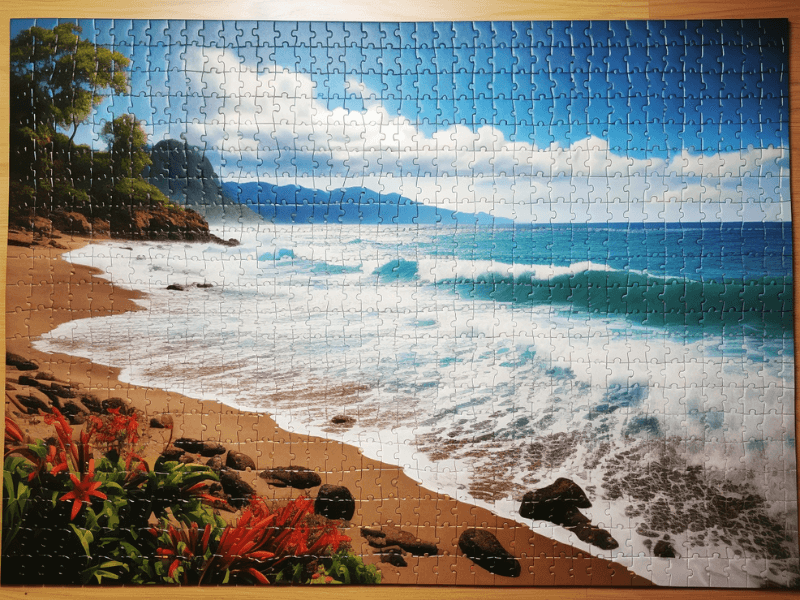
Completing a puzzle can be an exhilarating experience – it’s like weaving a tapestry of triumph with your own hands. But what to do when the last piece clicks into place, and you’re left with a masterpiece too beautiful to dismantle? The answer is simple – frame it!
Before you shudder at the thought of this mammoth task, let’s assure you, it’s easier than you think. The journey from a completed puzzle to a dazzling wall display can be simple, fun, and rewarding. So, ready to dive in? Let’s start!
Overview: Charting the Course to Puzzle Framing
- Setting the Stage: Pre-framing considerations
- Glue Galore: A brief introduction to suitable puzzle glues
- The Art of Puzzle Gluing: Step-by-step instructions
- Framing Finale: Wrapping up your masterpiece

Setting the Stage: What to Know Before Gluing Your Puzzle
Before we embark on our framing voyage, there are some considerations to take into account:
- Choose Wisely: Ensure your puzzle is in a location where it can safely dry without being disturbed.
- Prepare for the Process: Cover your working area with wax or parchment paper to avoid glue spills sticking to your table.
- Test it Out: If you’re new to puzzle gluing, try your hand first on a smaller, less dear puzzle to get the hang of it.
Glue Galore: Picking the Right Adhesive for Your Puzzle Masterpiece
Choosing the right glue for your puzzle is crucial. Here are a few common types:
- Puzzle-Specific Glue: Easy to use and provides a strong bond. It’s usually clear, giving your puzzle a nice glossy finish. However, it might be a bit more expensive than other types of glue.
- Mod Podge: This all-in-one glue, sealer, and finish is known for its versatility. It dries clear and can be used for many other crafts. But be cautious as it might not provide as strong a bond as puzzle-specific glue.
- Liquid Glue: While not specific to puzzles, it can work well if you’re in a pinch. It’s typically cheaper, but it might not dry clear and could leave a residue.
The Art of Puzzle Gluing: A Step-by-Step Guide
- Preparation: Place your completed puzzle on a sheet of wax or parchment paper to prevent it from sticking to the work surface.
- Application: Pour the glue onto the middle of the puzzle, spreading it outwards with a plastic spreader or a piece of stiff card. Ensure the glue covers the puzzle entirely, right to the edges.
- Drying: Allow the glue to dry thoroughly. This might take a few hours or even overnight, depending on the type of glue and the thickness of the application.
- Second Coat (Optional): For added stability, especially for larger puzzles, apply a second coat of glue on the first one’s dried surface.
- Reverse Side: Once the top side is dry, flip the puzzle over carefully and apply glue on the back side.
- Framing: After the glue has dried, place the puzzle in the frame of your choice.
Framing Finale: The Grand Conclusion
Gluing your puzzle for framing is not just about preserving your hard work; it’s about creating a piece of personalized art.
With the right glue and technique, you can turn your completed puzzle into a decorative display that reflects your effort, patience, and passion.
Remember to take your time and enjoy the process – after all, it’s about relishing the journey as much as the end product.


