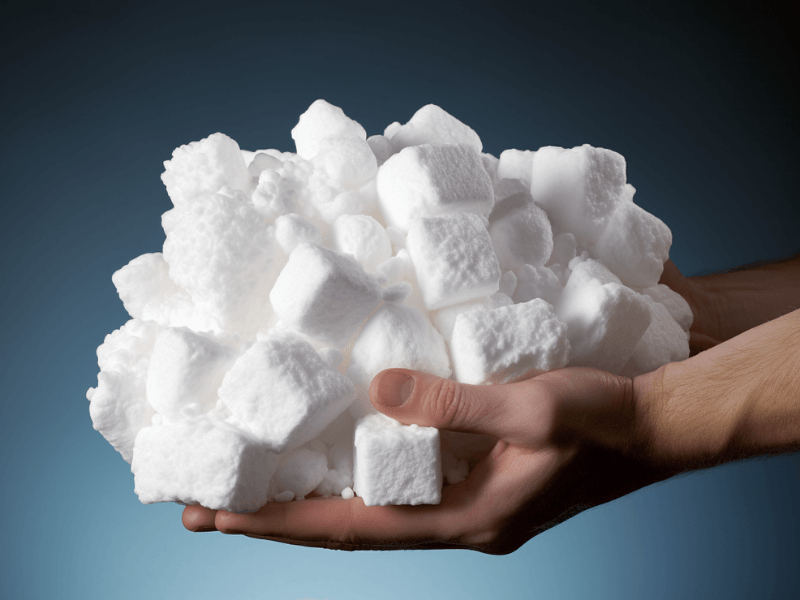
Styrofoam, the lightweight, easy-to-shape material is a beloved staple of crafters and builders alike. But when it comes to attaching pieces together, what’s the secret to a strong, lasting bond?
This guide will help you navigate the seemingly complex world of styrofoam adhesives and ensure your creation stands the test of time.
The Essentials of Effortless Styrofoam Bonding
- Understanding the nature of styrofoam is key before embarking on your glueing journey.
- Several types of glues are suited for styrofoam, each with its unique benefits and drawbacks.
- Careful application, including surface preparation, is vital for a strong bond.
- Patience is key! Allow adequate time for the adhesive to cure.
Before You Begin: A Styrofoam Strategy
Styrofoam is a porous material. Due to its cellular structure, it can melt or degrade when exposed to certain chemicals commonly found in adhesives.
Knowing this, selecting the right glue becomes paramount for achieving a successful styrofoam bond.
Gluing Styrofoam: A Parade of Adhesives
- Foam-Safe Craft Glue: Easy to use and non-toxic, this adhesive forms a strong bond without the risk of melting the styrofoam. However, it may require longer drying times.
- Silicone Adhesive: Resistant to heat and water, silicone adhesive creates a flexible and durable bond. On the downside, it may be more challenging to apply and take longer to cure.
- Hot Glue (Low Temp): Quick and convenient, low-temperature hot glue provides a rapid bond. However, be careful as high-temperature hot glue can melt styrofoam.
- Spray Adhesive: Excellent for covering large surfaces, spray adhesive dries quickly and cleanly. Ensure to use in a well-ventilated area and avoid over-spray.
Styrofoam Bonding: A Step-by-Step Guide
- Preparation: Clean the styrofoam surfaces to be bonded, ensuring they’re free from dust or oils.
- Application: Apply the chosen glue to one surface. With hot glue, apply in short lines rather than dots for better distribution.
- Bonding: Press the two styrofoam pieces together, ensuring even contact.
- Curing: Allow the glue to cure fully, according to the manufacturer’s instructions.
Pro Tips for a Super Styrofoam Bond
- Roughen the Surface: Lightly sanding the styrofoam can help create a stronger bond.
- Less is More: Avoid over-applying glue as it can cause longer drying times or uneven bonding.
- Patient Pressing: Maintain a gentle pressure when joining the styrofoam pieces to avoid causing indentations.
- Curing Care: Allow the glued styrofoam to rest undisturbed during the curing process for a maximum strength bond.
Conclusion: The Triumph of Styrofoam Bonding
The world of styrofoam adhesion needn’t be daunting. With the right knowledge about the material, a careful selection from the parade of adhesives, and adherence to patient, precise application and curing practices, you’re set for styrofoam success.
So, whether you’re crafting a model, creating a sculpture, or undertaking a DIY project, rest assured that a sturdy, enduring bond is well within your reach!
