Gorilla Glue dries in about 15-45 seconds, but usually, it takes about 24 hours for the adhesive to fully bond.
This high-strength adhesive has a very fast dry time, which is why it is one of the most used adhesives in various household projects.
But, some methods can speed up the drying time of gorilla glue, such as:
- Taking the right steps even before applying the adhesive
- Applying gorilla glue the right way
- Using a thin layer of gorilla glue
- Improving airflow
- Clamping and securing the materials
- Using heat
Gorilla Glue is one of the strong go-to adhesives that offer long-lasting effects. This glue is made with a water-activated polyurethane formula.
This allows the glue to grip deeper into the materials effectively, offering a crazy strong bond.
This strong adhesive is waterproof and moisture resistant. You can paint over it with oil-based and spray paint. You must sand it first if you want to use latex, acrylic, or stain.
How To Get Gorilla Glue To Dry Faster?
There are a few tricks you can implement that will help you make gorilla glue dry faster, such as:
- Use a thin layer of gorilla glue
- Improve airflow
- Clamp and secure
- Use heat
Use a thin layer of gorilla glue.
When it comes to gluing, you may be tempted to think that the more you use, the better it will hold. This is not correct.
Less is better in this case. Only use one thin layer of gorilla glue to glue your materials together.
Improve airflow.
Improving airflow, especially if you are gluing indoors, can help speed up the drying time.
You can achieve this in a few different ways:
- Open up one or more windows
- Turn on a ventilator
- Use a fan to blow air on the glue continuously
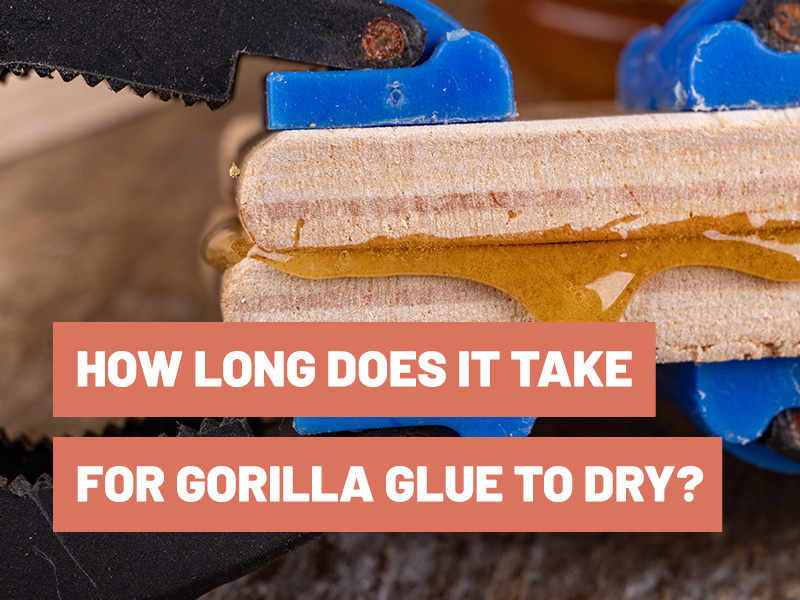
Clamp and secure.
Once you have applied gorilla glue and pressed your objects together, use a clamp to secure them.
Use heat.
Using heat can also make gorilla glue dry faster.
You can add heat by using:
- Hairdryer
- Space heater
- Heat gun
The Best Features Of Gorilla Glue
Gorilla Glue is one of the most relied-on adhesives for various household projects. It is 100% waterproof, so it creates a strong bond even for exterior repairs, which won’t be broken down by rain or moisture.
Besides rain and moisture, Gorilla Glue is temperature resistant; it bonds just as strongly in cold and hot temperatures.
One of the best features of gorilla glue is its versatility. You can use it on almost any material to gain a bond that will last and hold over time. You can use this adhesive on several materials:
- Metal
- Wood
- Glass
- Stone
- Ceramic
- Foam
- Concrete
- Plastic
- Fabric
- Cardboard
- And much more!
The formula of this adhesive allows it to expand three times into the materials, creating such a strong bond that is simply impressive.
How To Apply Gorilla Glue For Best Results And A Faster Drying Time?
Before you glue the materials, you should take two to three pre-steps. This won’t only help create the strongest bond possible, but it will speed up the drying and bonding time.
Here is what you need to do before you glue with Gorilla Glue, regardless of the type of material you will be working with:
- Prepare and clean the surfaces
- Dampen one surface
- Roughen up shiny, smooth surfaces
Preparing the surfaces and cleaning them the right way is important. What does this mean? The materials you want to glue together should be well-fitting.
Besides this, the surfaces you will be gluing together must be free of dirt and dust.
If the surfaces you want to glue are very soft and shiny (such as plastics or glass), use sandpaper to roughen them up.
This will allow the glue to have something to “hold” onto and expand into to create a strong and long-lasting bond.
The last pre-step is to dampen one surface with water. You can spray it on or dampen the surface with a clean cloth or cotton ball. Lightly dampen the surfaces, don’t oversaturate.
Gorilla Glue is a water-activated polyurethane adhesive, so adding moisture to the surface will cause a stronger and more durable bond.
Here are the steps you should be following once you are done with the pre-steps:
- Apply one thin layer of Gorilla Glue onto the dry surface (a thinner layer is better and more effective than a thicker one)
- If necessary, you can use a disposable brush to spread it
- Carefully press the two surfaces together
- Use a clamp to secure them in place for 14 hours for the best results
If you don’t have clamps on smaller objects, you can use other items, such as rubber bands.
Keep in mind that Gorilla Glue will expand as it cures.
How To Store Gorilla Glue After Use
To preserve and protect the shelf life of Gorilla Glue, here is how you should store it after each use.
When using it, wipe off the lid and the bottle’s nozzle with a dry cloth. If there is some adhesive spillage, it will prevent the lid from getting glued to the bottle.
Place the lid back on and squeeze it on tightly. Place the bottle in a Ziploc-type bag, and squeeze out excess air. This will keep it safe from moisture.
Store in a dry and cool place.
Also, check out my guide on how to remove Gorilla Glue from the skin for further tips.
Conclusion
Even though Gorilla Glue can dry as fast as 15 seconds or 45 seconds, it will take up to 24 hours for the adhesive to fully bond.
After you have glued your surfaces, secure them and leave them like that for 24 hours.
You can use Gorilla Glue outdoors as it is moisture resistant and waterproof. You can easily paint over it with oil-based and spray paint. It is also stainable; you just need to sand it first.
Some tricks can make gorilla glue dry faster, such as:
- Taking the right steps even before applying the adhesive
- Applying gorilla glue the right way
- Using a thin layer of gorilla glue
- Improving airflow
- Clamping and securing the materials
- Using heat
