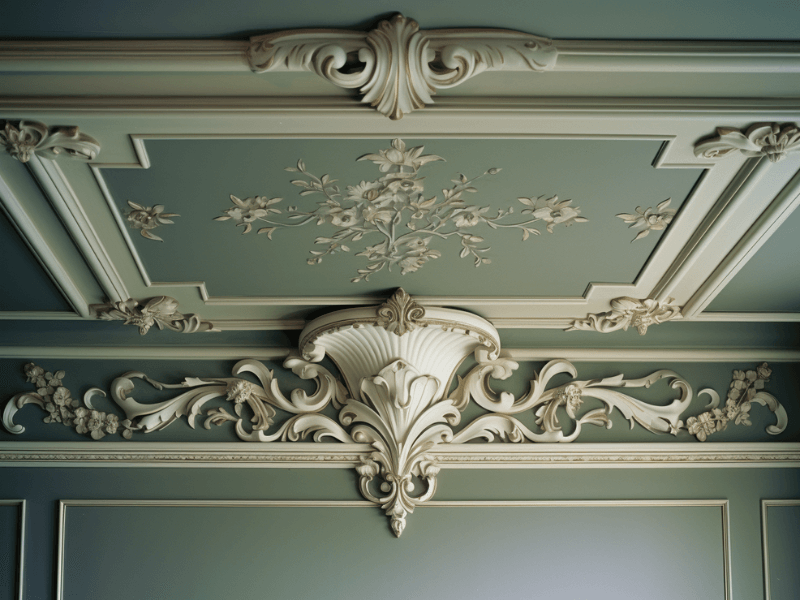
Have you ever gazed at those intricate crown moldings gracing the tops of rooms in stylish homes and thought, “I wish I could have those!” Well, I’ve got good news for you: you can.
And what’s even better, you can do it yourself with the right adhesive and a bit of patience.
Crown molding is one of those home improvements that not only add value to your house but also create a sense of refinement and sophistication.
The key lies in the installation, and that’s where adhesive comes in. Read on to learn the ins and outs of using glue to install crown moldings.
In A Glance: Installing Crown Molding with Glue
- Identify the right adhesive for your crown molding
- Prepare the surface correctly
- Follow a step-by-step guide to install the crown molding
- Learn common mistakes to avoid during the installation
- Maintain the beauty of your crown molding
Choosing the Right Adhesive: The First Step to Glory
When it comes to crown molding, not all glues are created equal.
For an installation to be successful, the adhesive should:
- Have strong bonding capabilities
- Be compatible with the material of the crown molding
- Be heat and water-resistant to withstand changing temperatures and humidity
- Be easy to use
- Have a reasonable curing time
Surface Preparation: The Road to Perfection
Before you start slapping on the glue and affixing your crown molding, you need to prepare the surfaces.
First, ensure the wall and ceiling where the molding will attach are clean and free of dust, grease, and loose paint. You can use a mild detergent and water to clean these surfaces.
Then, sand lightly for better adhesion, wipe away dust with a damp cloth, and allow the surface to dry. Remember, a clean surface means better adhesion!
Step-By-Step: Your Pathway to a Crowned Room
Follow these steps to install crown molding with glue:
- Measure and Cut: Measure the wall length and cut your crown molding accordingly. Remember to cut the ends at a 45-degree angle for the corners.
- Apply Adhesive: Apply a thin bead of your chosen adhesive along the back edges of the crown molding that will contact the wall and ceiling.
- Fix Molding: Position the molding against the wall and ceiling, pressing firmly to ensure good contact with the adhesive.
- Secure Molding: While the adhesive dries, you can use finishing nails to help secure the molding in place.
- Fill Gaps: Fill any gaps or nail holes with a high-quality, paintable caulk.
- Paint: Once the adhesive and caulk have dried, you’re ready to paint your crown molding and watch as your room transforms!
Stumbling Blocks: Common Mistakes to Dodge
Common mistakes to avoid when installing crown molding with glue include not preparing the surface properly, using too little or too much adhesive, not securing the molding while the adhesive dries, and skipping the step of filling gaps and nail holes.
Another common error is not waiting for the adhesive to dry fully before painting. Doing so can compromise the bond strength and overall finish.
Sealing the Deal: The Grand Finale
Installing crown molding with adhesive can be a fun, rewarding DIY project that adds a touch of elegance to your home.
It requires careful selection of adhesive, proper surface preparation, and attention to detail during installation. By avoiding common mistakes, you can ensure a beautiful and long-lasting result.
So, gather your tools, select your favorite molding, and let’s turn that dream of a sophisticated, crown-molded room into reality.
Remember, the joy is in the journey, as much as it is in the stunning final result!
