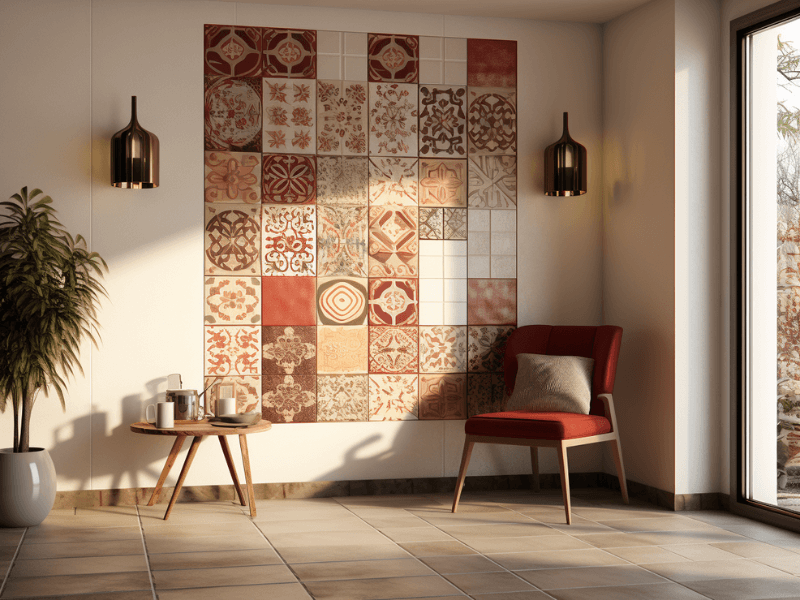
Peel and stick tiles are a fantastic, cost-effective, and DIY-friendly solution to spruce up your living space. Whether it’s the kitchen backsplash, a bathroom wall, or your bedroom floor, these adhesive wonders can utterly transform your surroundings.
Before you begin, remember the essential rule: preparation is key, and having the right adhesive to reinforce your tiles is crucial.
Dive into this guide, and let’s explore the world of peel and stick tiles, helping you understand how to install them effortlessly. From the qualities you need in your adhesive to a simple step-by-step installation process, we’ve got you covered!
An Overture to Peel and Stick Tiles
- No mess and minimal tools required
- Can be installed on various surfaces like concrete, wood, and existing tiles
- Flexibility in design and pattern choices
- An affordable alternative to traditional tiling
- The right adhesive can increase durability and lifespan
- A relatively quick and straightforward installation process
Getting to Know Your Tiles: A Sticky Affair
Understanding your peel and stick tiles is fundamental to a successful installation.
These tiles come with a pre-applied adhesive layer, but sometimes, it may not be enough, especially in high moisture areas like bathrooms.
Hence, a good-quality adhesive may be required for additional reinforcement.
Your adhesive needs to possess certain characteristics:
- It should have a strong bonding capacity to securely hold your tiles in place.
- It must be resistant to moisture and not weaken over time.
- It should dry quickly and clearly without leaving visible traces.
- It should be easy to apply and smooth out.
- Ideally, it should be flexible, allowing for expansion and contraction of tiles due to temperature changes.
Unfolding the Magic: Step-By-Step Guide to Peel and Stick Tiles Installation
- “Measure Twice, Cut Once”: Calculate the total area you intend to tile and purchase accordingly. Don’t forget to account for waste due to cuts.
- Prep and Prime: Thoroughly clean the area of installation. Remove any grease, dust, or debris, as these can interfere with adhesion. If you’re applying over existing tiles, ensure they’re not loose or cracked.
- Cut and Fit: Cut the tiles to fit corners, edges, and around outlets. A utility knife works well for this. Always double-check your measurements before cutting.
- Time to Stick: Start from the center and move outwards. Peel off the backing and stick the tile to your surface, applying pressure uniformly. Use a roller for an even better bond.
- Boost the Bond: If required, apply additional adhesive before sticking the tile down for a more robust bond.
- Finishing Touches: Use a grout pen to create a finished look, or seal the edges with caulk, especially in areas prone to water exposure.
- Maintenance Matters: Clean the tiles regularly using non-abrasive and non-acidic cleaners to prolong their life.
Wrapping it Up: The Tiling Tale Concludes
The beauty of peel and stick tiles lies in their simplicity and the transformation they can bring to your space.
The right adhesive only adds to this allure, ensuring your tiles remain firmly in place for a long time.
Remember, patience is a virtue here, so take your time, do the prep work, and before you know it, you’ll have a beautifully tiled space to be proud of. Enjoy the journey of creation, and happy tiling!
